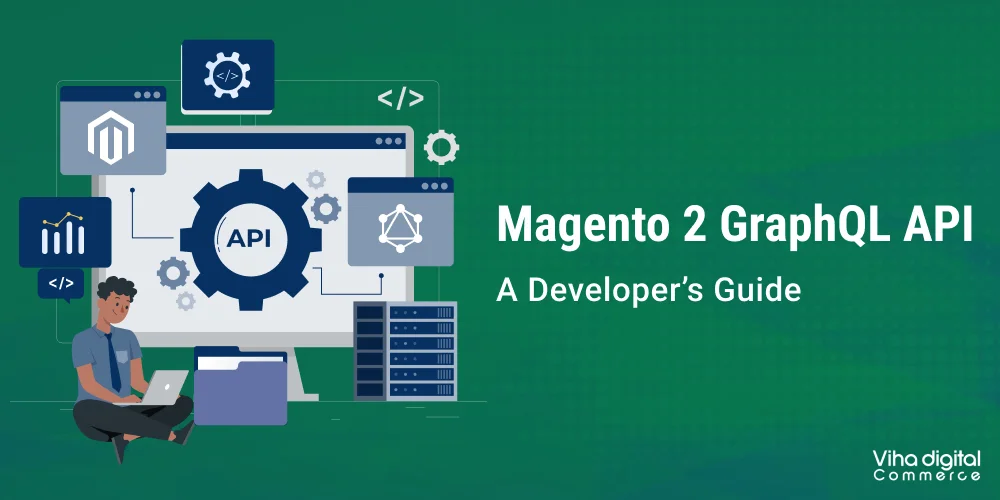
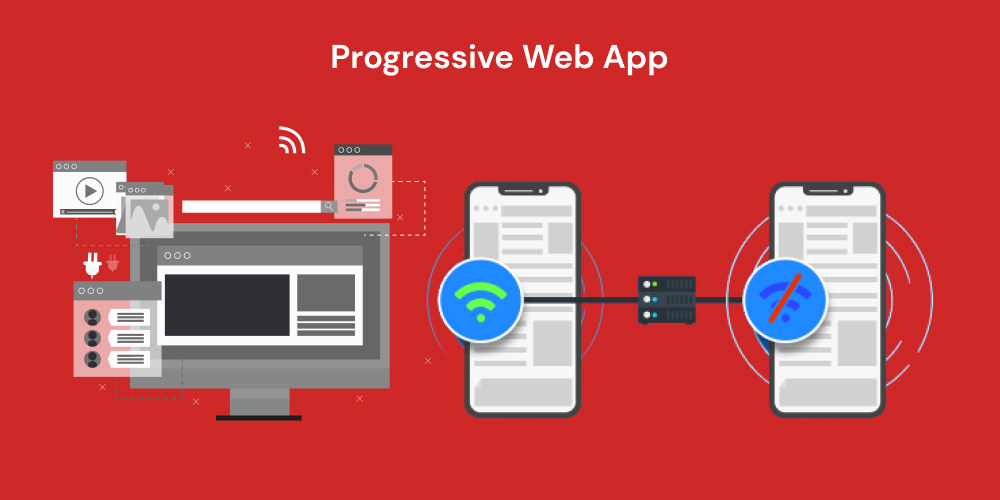
How to Install PWA on Magento Adobe Commerce?

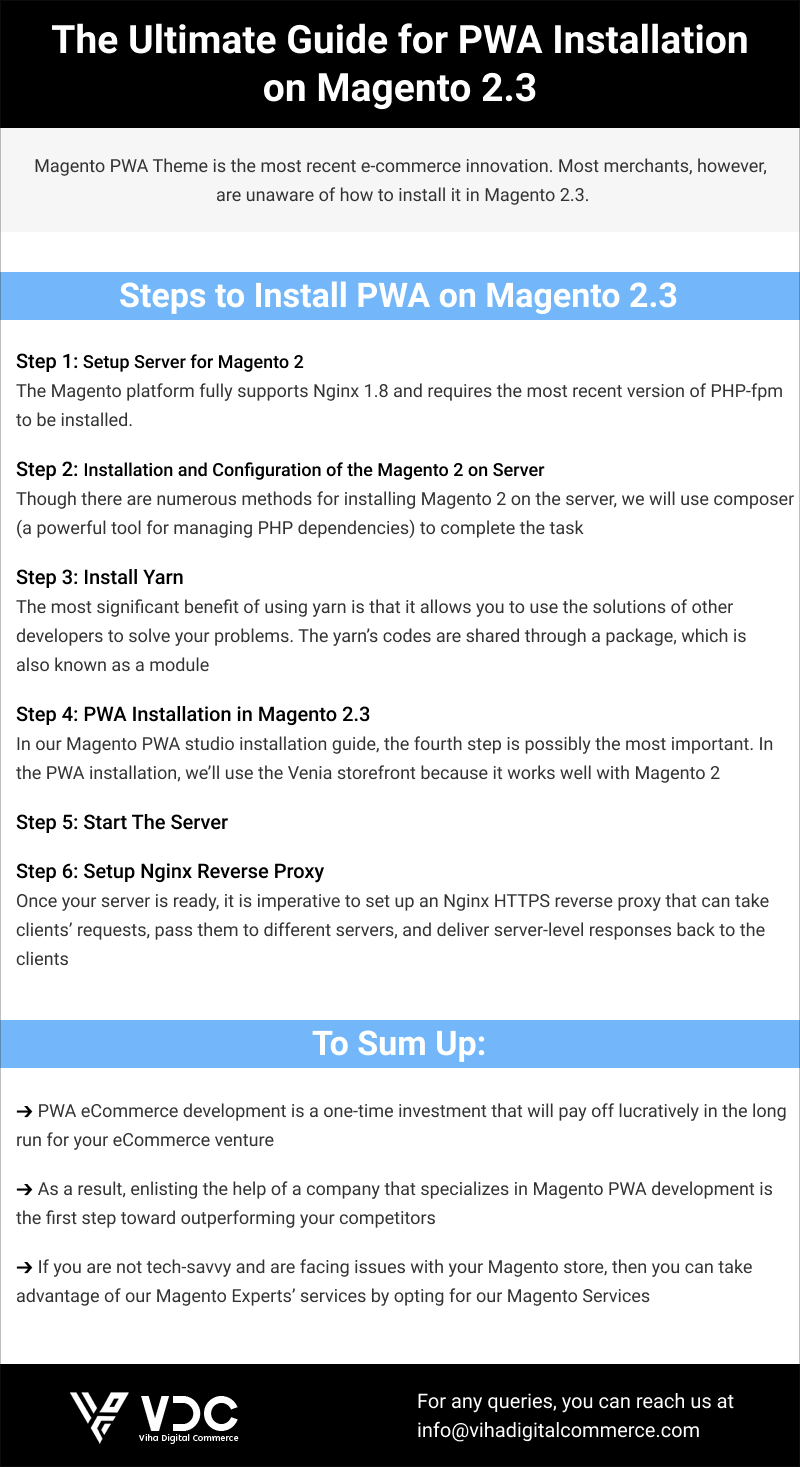
Magento PWA Theme is the most recent e-commerce innovation.
Most merchants, however, are unaware of how to install it in Magento Adobe Commerce.
There’s no need to be concerned if you don’t know how to install Magento PWA.
This comprehensive guide was written solely to inform merchants and Adobe Commerce Developers about how to install PWA in Magento 2.4.4.
How to Install PWA on Magento Adobe Commerce?
- Step 1: Setup Server for Magento 2
- Step 2: Installation and Configuration of the Magento 2 on Server
- Step 3: Install Yarn
- Step 4: PWA Installation in Magento 2.3
- Step 5: Start The Server
- Step 6: Setup Nginx Reverse Proxy
Step 1: Setup Server for Magento 2
The first step in the Magento PWA development process is to configure the server for Magento 2.
However, there are some prerequisites that must be met in order to properly set up the Magento 2 server. Here we have utilized Nginx to install and configure the server.
The Magento platform fully supports Nginx 1.8 and requires the most recent version of PHP-fpm to be installed.
The installation process differs from one operating system to another. We have used the Ubuntu 16 operating system to set up the Magento 2 server with Nginx.
Install Nginx
Install the server using Nginx by using the command given below.
Install and Configure PHP-fpm
Installing Nginx is only half the battle. You must ensure that the Magento platform runs properly on the server. This necessitates the use of numerous PHP extensions in order for the Magento2 PWA to function properly.
Follow the steps below to install and configure PHP-fpm on Nginx.
Install php-fpm and php-cli:
The following command helps you to install the most recent version of PHP 7.2.X for the Magento 2 platform.
Open php.ini files in the editor:
vim /etc/php/7.2/fpm/php.ini
vim /etc/php/7.2/cli/php.ini
Edit php.ini Files to Match the Required PHP Settings:
memory_limit = 2G
max_execution_time = 1800
zlib.output_compression = On
Saves files and Close the Editor
To cross-check the server installation, start the PHP-fpm service.
To restart the PHP-fpm service, use the command below.
Advantages of Using Nginx Server
- Easy installation and configuration
- Aids in hosting and delivering static files like mp4, zip, etc.
- Ability to handle 4 times more concurrent connections than Apache 4.
- Compatible with diverse web applications.
- provides outstanding load-balancing support.
- Evenly distributes clients’ requests across backend servers.
- Amplifies the website speed manifold times.
- Manage Website Traffic effectively.
Step 2: Installation and Configuration of the Magento 2 on Server
")
")
The installation and configuration of Magento2 on the Nginx server is the next critical step in the Magento 2.3 PWA development process.
Though there are numerous methods for installing Magento 2 on the server, we will use composer (a powerful tool for managing PHP dependencies) to complete the task.
Magento 2 Installation Using Composer
The composer’s main task in a Magento 2 installation is to keep track of all Magento components and their dependencies. Two prerequisites must be met in this case.
- Magento 2 Authentication Keys
- Magento Metapackage
Obtain Magento 2 Authentication Key
By logging into your Magento account, you can quickly obtain authentication keys. To get the Magento 2 authentication keys, click the link below.
https://marketplace.magento.com/customer/accessKeys/
Get The Magento Metapackage
Meta packages’ main purpose is to group all of those extensions into a single unit that contains multiple packages. A Metapackage function is the root page for those extensions. To obtain the Metapackage, we recommend that you follow the steps outlined below.
- Switch to the Magento file system owner on your Magento server.
- Go to the server root directory that you have configured as the virtual host doc root.
- Using Magento open source or the Magento community edition, you can create a composer edition by making use of the following command.
Step 3: Install Yarn
Yarn (Yet Another Resource Negotiator), a highly efficient packet manager developed by Facebook, allows you to share code with other developers without any hassle. Unlike npm, yarn accomplishes this in a more secure and dependable manner.
The most significant benefit of using yarn is that it allows you to use the solutions of other developers to solve your problems. The yarn’s codes are shared through a package, which is also known as a module.
Steps to Install Yarn
Yarn can be installed in a variety of ways. However, as previously stated, we are installing Yarn via the Debian package repository on the Ubuntu operating system.
1. Configure The Debian Package Repository
Use the command given below to configure the Debian repository.
curl -sS https://dl.yarnpkg.com/debian/pubkey.gpg | sudo apt-key add –
echo “deb https://dl.yarnpkg.com/debian/ stable main” | sudo tee /etc/apt/sources.list.d/yarn.list
Note: – On or below Ubuntu 16.04, you must have to configure the source node repository. You can use the command given below.
It’s possible that Yarn isn’t located in your path; if that’s the case, we recommend that you add it and run it anywhere without interruption.
Path Setup for Yarn
This command should be added to your profile. Your profile can be found in bashrc,.bash profile,.profile, and other directories.
You will use the terminal to verify the changes by logging in and out.
Now, it’s time to see if the yarn has been properly installed. Use the command below to test the yarn installation.
If you encounter errors in Yarn installation after meticulously following all of the steps, we recommend that you look into GitHub to resolve the problem.
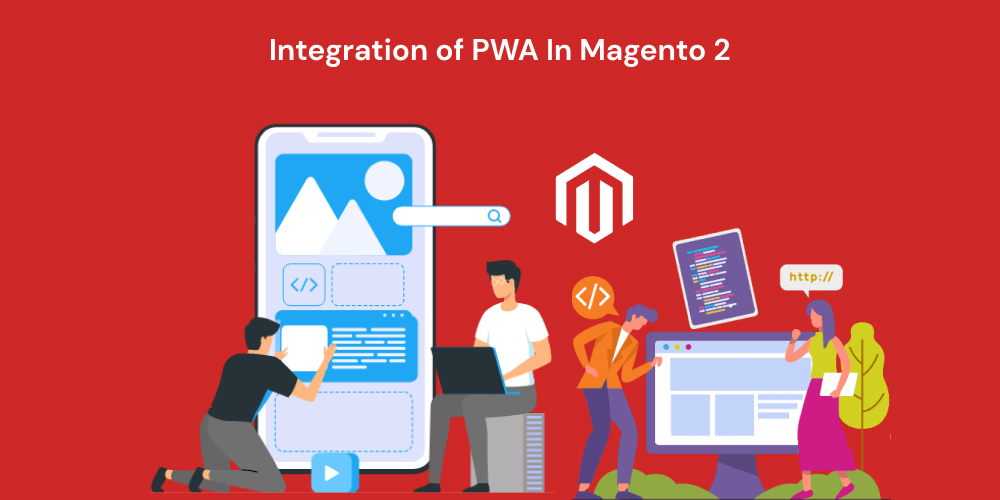
Step 4 – PWA Installation in Magento 2.3
In our Magento PWA studio installation guide, the fourth step is possibly the most important. In the PWA installation, we’ll use the Venia storefront because it works well with Magento 2.
Set up the Venia PWA storefront in Magento 2.3 by following the steps listed below.
Requirements for Setting Up Venia PWA Storefront
To set up a Venia PWA storefront and explore Magento PWA components, you’ll need to meet the following prerequisites.
- Yarn version › 1.13.0
- NodeJs Version › 10.14.1
- A properly running and functioning Magento 2.3 setup
Steps for Venia Storefront Setup
1. Clone PWA-Studio Repository
git clone
https://github.com/magento-research/pwa-studio.git
You have to clone the PWA-Studio repository in the Magento 2.3 development environment.
2. Install Project Dependencies
To install the PWA project dependencies, run the below-given command in the Magento PWA studio root directory.
3. Get an SSL Certificate
If you want to protect your PWA domain from malicious threats, it should be HTTPS-secured. In the root directory, you can generate a trusted SSL certificate for the Venia storefront.
4. Create and Update. env file in PWA
We are using STAGING_SERVER_PORT=8080 as we want to restrict our Magento PWA usage for non-commercial customers.
To create a .env file on Venia, use the create-env-file subcommand with the build CLI tool. The subcommand will help you to create packages/venia-concept/.env through which you can set the value for MAGENTO_BACKEND_URL.
Step 5 – Start The Server
Build Artifacts
The command below should be used to generate build artifacts for the Venia storefront in the project root directory. Before you can run the server, you must first generate build artifacts.
Run The Server
There are plenty of ways to run the server. We are going to state 3 commands from which you can utilize them to run the server.
This command immediately begins the Venia storefront development environment.
This command will run full PWA studio developer experience which comprises Venia hot-reloading and concurrent build pack rebuilds.
This command is for generating build artifacts and running staging environments.
Step 6 – Setup Nginx Reverse Proxy
Once your server is ready, it is imperative to set up an Nginx HTTPS reverse proxy that can take clients’ requests, pass them to different servers, and deliver server-level responses back to the clients.
Key Features of Nginx Reverse Proxy:
- Excellent Performance
- Enhance Security
- Load Balancing
- Simple Logging and Auditing
Follow the command given below to set up Nginx reverse proxy.
location / {
proxy_pass http://127.0.0.1:8080; (Because we are using a personally hosted web server)
proxy_http_version 1.1;
proxy_set_header Upgrade $http_upgrade;
proxy_set_header Connection ‘upgrade’;
proxy_set_header Host $host;
proxy_cache_bypass $http_upgrade;
}
To Summarize:
- PWA eCommerce development is a one-time investment that will pay off lucratively in the long run for your eCommerce venture.
- As a result, enlisting the help of a company that specializes in Magento PWA development is the first step toward outperforming your competitors.
If you are not tech-savvy and are facing issues with your Magento store, then Hire a Dedicated Magento Developer and get a Free Trial For 8 Hours. For any queries, you can reach us at info@vihadigitalcommerce.com.