Magento Adobe Commerce Theme Development Guide

A theme is an Adobe Commerce application component that provides a consistent look and feel (visual design) for an entire application area (for example, the storefront or Adobe Commerce admin) by combining custom templates, layouts, styles, or images.
Themes are intended to replace or customize view layer resources that modules or libraries previously provided.
Themes are developed by various vendors (frontend developers) and are intended to be distributed as additional packages for the Adobe Commerce system, in the same way that other components are.
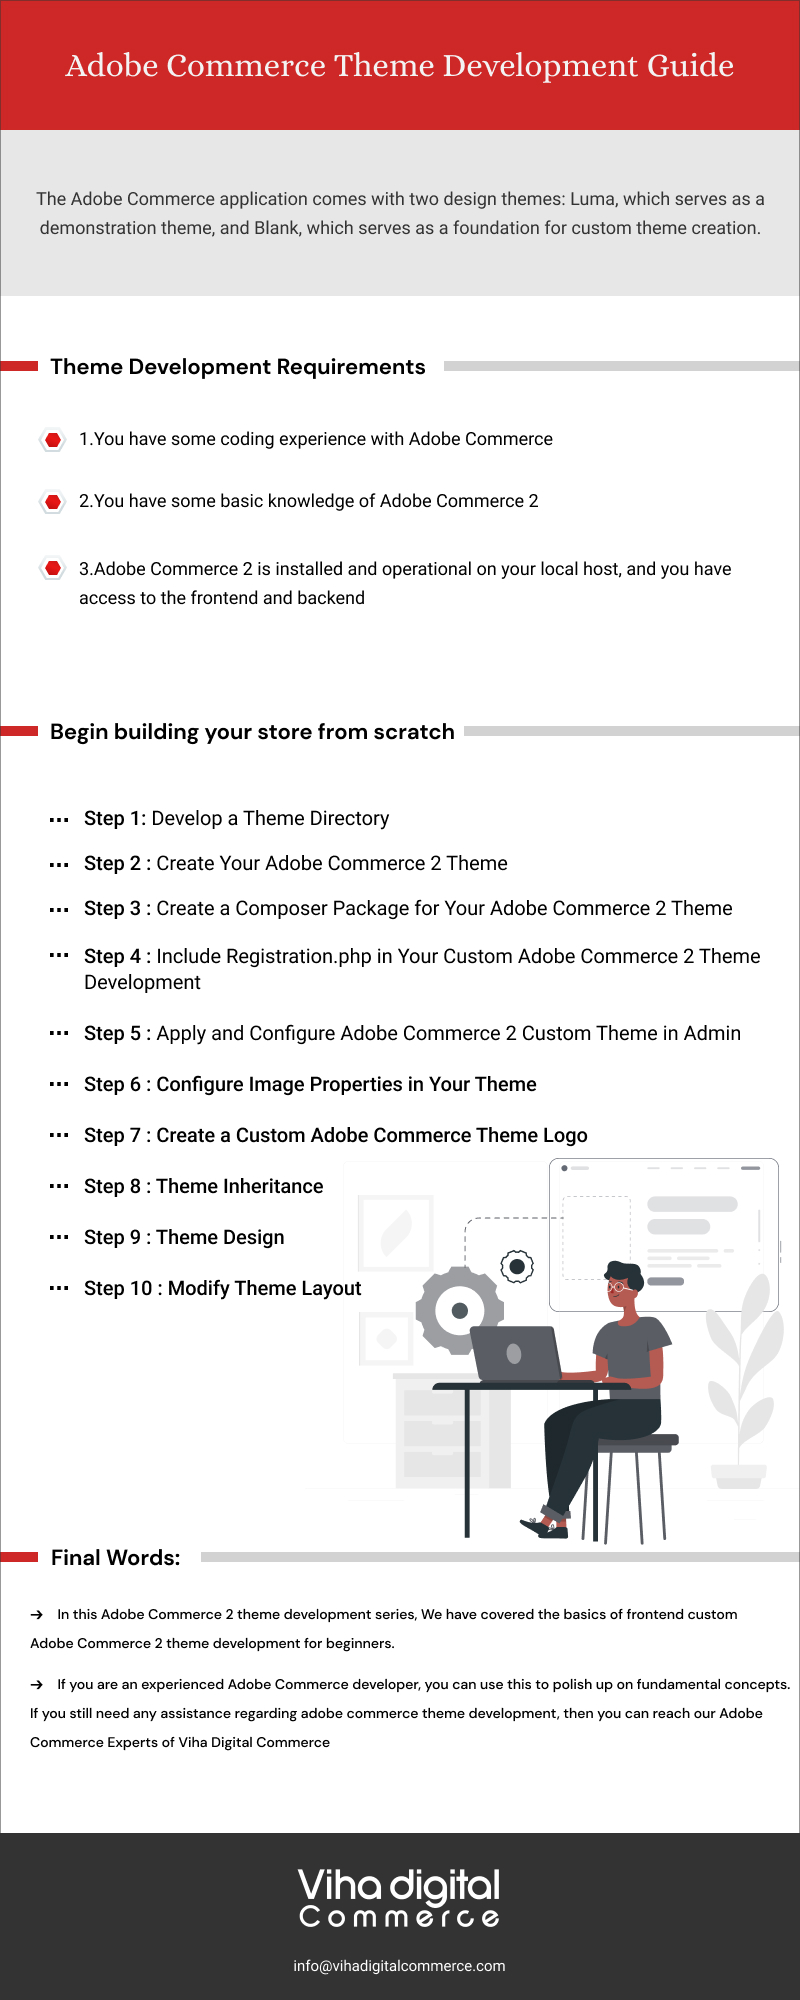
The Adobe Commerce application comes with two design themes: Luma, which serves as a demonstration theme, and Blank, which serves as a foundation for custom theme creation.
The demonstration Luma theme can be used for a live store with no restrictions, but if you want to change the default design, you must create a new theme. We strongly advise against editing the default Luma and Blank theme files, as your changes may be overwritten by the new version of the default files during upgrades.
Your new theme can be a stand-alone or inherit from the default or another existing theme. The Adobe Commerce system’s theme inheritance concept allows you to change only certain theme files while inheriting other required files from a parent theme.
Theme Development Requirements
Before you start working on your own Magento theme development, make sure the following requirements are met:
- You have some coding experience with Adobe Commerce
- You have some basic knowledge of Adobe Commerce 2
- Adobe Commerce 2 is installed and operational on your local host, and you have access to the frontend and backend.
Once the basic requirements are met, Launch your Adobe Commerce 2 store in just a few clicks and begin building your store from scratch.
Step 1: Develop a Theme Directory
Go to your Adobe Commerce 2 root directory>/app/design/frontend to create a directory for your Adobe Commerce theme.
Create a new directory under the frontend directory named after your theme vendor: /app/design/frontend/Cloudways (I choose Cloudways as my theme vendor name).
Make a directory for your Adobe Commerce 2 theme in your theme vendor directory: /app/design/frontend/Cloudways/m2-theme.
Following the creation of this structure, you must declare your Adobe Commerce 2 theme so that Adobe Commerce is aware of its existence. In your Adobe Commerce 2 backend, you can make your theme the current
Step 2: Create Your Adobe Commerce 2 Theme
Now, create the theme.xml file in app/design/frontend/vihadigital/m2-theme/theme.xml and include the following code:
- <theme xmlns:xsi=”http://www.w3.org/2001/XMLSchema-instance” xsi:noNamespaceSchemaLocation=”urn:Adobe Commerce:framework:Config/etc/theme.xsd”><title>m2-theme</title>
- Adobe Commerce/Luma
- <media>
- media/m2-theme-image.jpg
- </media>
- </theme>
Insert the name of your theme into the title> tag. The parent theme can be specified in the parent> tag for fallback purposes. I’m working with the Luma theme.
In the preview image> tag, I declare a theme image. This is a preview thumbnail image that appears in the Adobe Commerce 2 admin on our theme page. App/design/frontend/Cloudways/m2-theme/media/m2-theme-image.jpg is the thumbnail image.
Check that you have this thumbnail in the right place. If you do not have this file in the correct location, you will receive an error when accessing your theme page via Adobe Commerce 2 admin.
Step 3: Create a Composer Package for Your Adobe Commerce 2 Theme
To register the package on a packaging server, place a composer.json file in your theme directory: app/design/frontend/Cloudways/m2-theme/composer.json. This file is included in the theme dependency list. The default public packaging server for Adobe Commerce is https://packagist.org/. Please enter the following code:
{
“name”: “Cloudways/m2-theme”,
“description”: “Adobe Commerce 2 Theme Customization”,
“require”: {
“php”: “~5.6|~7.0|~7.1|~7.2|~7.3|~7.4”,
“Cloudways/m2-theme”: “100.0.*”,
“Adobe Commerce/framework”: “100.0.*”
},
“type”: “Adobe Commerce2-theme”,
“version”: “100.0.1”,
“license”: [
“OSL-3.0”,
“AFL-3.0”
],
“autoload”: {
“files”: [
“Registration.php”
]
}
}
Step 4: Include Registration.php in Your Custom Adobe Commerce 2 Theme Development.
To register your theme in the Adobe Commerce system, create a registration.php file in your theme directory: app/design/frontend/Vihadigital/m2-theme/registration.php and include the following code in it:
- <?php
- /**
- * Copyright © Adobe Commerce. All rights reserved.
- * See COPYING.txt for license details.
- */
- Adobe CommerceFrameworkComponentComponentRegistrar::register(
- Adobe CommerceFrameworkComponentComponentRegistrar::THEME,
- ‘frontend/Cloudways/m2-theme’,
- __DIR__
- );

Step 5: Apply and Configure Adobe Commerce 2 Custom Theme in Admin
Once you’ve added your theme to the file system, everything is in place for you to activate your theme and apply it to your store. Go to the backend of Adobe Commerce 2, then to Content > Design > Themes. Ensure that your theme appears on this list.
When you can see your theme in this list, go to Stores > Configuration > Design, and select your newly created theme from those shown in the image below.

After you’ve decided on a theme, click the “Save Config” button to clear the cache.
Step 6: Configure Image Properties in Your Theme
For a configuration of catalog image sizes and other images, you need view.xml. This file is required for the theme if the product image sizes of your custom Adobe Commerce theme development are different from the parent theme sizes. The view.xml file configures all storefront product image sizes.
For example, you make the category grid view product images by specifying the size of 350 x 350 pixels. Copy the view.xml file from the etc directory of your parent theme to your theme’s etc directory. Here is what the corresponding configuration would look like:
- …
- <image id=”category_page_grid” type=”small_image”>
- <width>350</width>
- <height>350</height>
- </image>
- …
Step 7: Create a Custom Adobe Commerce Theme Logo
Create Adobe Commerce Theme/layout directories and add the following code to a default.xml file to declare a theme logo. / app / design / frontend / Cloudways / m2-theme / Adobe Commerce Theme / layout / default.xml is the location of the default.xml file.
- <page xmlns:xsi=”http://www.w3.org/2001/XMLSchema-instance” xsi:noNamespaceSchemaLocation=”urn:Adobe Commerce:framework:View/Layout/etc/page_configuration.xsd”>
- <body>
- <referenceBlock name=”logo”>
- <arguments>
- <argument name=”logo_file” xsi:type=”string”>images/m2-logo.png</argument>
- <argument name=”logo_img_width” xsi:type=”number”>350</argument>
- <argument name=”logo_img_height” xsi:type=”number”>350</argument>
- </arguments>
- </referenceBlock>
- </body>
- </page>
The logo filename was m2-logo.png, and the logo size was 350 x 350 pixels. You are free to use your own logo filename and size.
Step 8: Theme Inheritance
Theme inheritance allows us to easily extend themes while minimizing maintenance efforts. You can use an existing theme as the foundation for custom Magento theme development customizations or minor store design upgrades such as holiday decorations. You can include overriding and extending files instead of duplicating large theme files and modifying what needs to be changed.
Adobe Commerce 2 does not restrict the level of theme inheritance. The fallback mechanism is used for theme inheritance in Adobe Commerce, as it was in Adobe Commerce 1. If a view file is not found in your custom Adobe Commerce theme, the Adobe Commerce system will look through the default theme’s module files or library.
The fallback mechanism for static files such as CSS, fonts, images, and JavaScript, as well as other theme files, is entirely different.
A parent theme is defined in the child theme via a theme.xml file.
Step 9: Theme Design
Model view controller architecture is used in Adobe Commerce 2 applications. The main focus of this section will be styling, which will primarily involve editing the CSS or LESS in this case. Because Adobe Commerce 2 is built with LESS, that is what we will use to begin editing the Adobe Commerce 2 theme.
Before we begin styling the theme, you should be aware of three different methods for styling the website:
- Compilation on the Server
- Grunt for Server-Side Compilation
- Client-Side Collection
In this article, We have used client-side compilation, but the results are the same for all three methods. Before you begin, uncomment the following line in your .htaccess file:
Following that, we must switch the LESS compilation mode to the client side in the Adobe Commerce 2 admin panel. Go to Stores > Configuration > Advanced > Developer > Front-end development workflow > Workflow type .

Save the configuration by clicking the Save Config button.
When we refresh the web browser in this mode, we don’t need Grunt to compile our CSS. The Adobe Commerce system will handle it. We can now make changes to our fewer files and see how the frontend changes in the following directory: / app / design / frontend / Cloudways / m2-theme / web / css / source / cw-theme.less
In your cw-theme.less file, insert the following code:
- body {
- margin: 0px!important;
- padding: 0px!important;
- }
- .page-wrapper {
- background-color: #fff;
- }
- .cwcustom-class {
- color: blue;
- }
You can add theme-specific styles to this file, save it, and then reload your browser. With client-side compilation on, you’ll notice that there are no styles when the browser first loads. This is due to the fact that Adobe Commerce is compiling the LESS at the time. After a few seconds, you should see the styles appear, hopefully with your custom styles.
Step 10: Modify Theme Layout
You must place the layout file with the same name in the following location to override the theme layout: /app/design/frontend/Adobe Commerce/luma/Adobe Commerce Theme/layout/default.xml
These files take precedence over the following layouts: /Cloudways/m2-theme/Adobe Commerce Theme/layout/default.xml
Always use the directory name page layout instead of the layout when overriding page layout files.
The layout overriding mechanism allows for a great deal of customization. I advise you not to make the following changes:
Change neither the name nor the alias of the block.
Change the page type of the parent handle.
Final Words:
In this Magento theme development series, We have covered the basics of frontend custom Adobe Commerce 2 theme development for beginners.
If you are an experienced Adobe Commerce developer, you can use this to polish up on fundamental concepts. If you still need any assistance regarding adobe commerce theme development, then you can reach us at info@vihadigitalcommerce.com.
Thank you.