Adobe Commerce Customization Tutorial

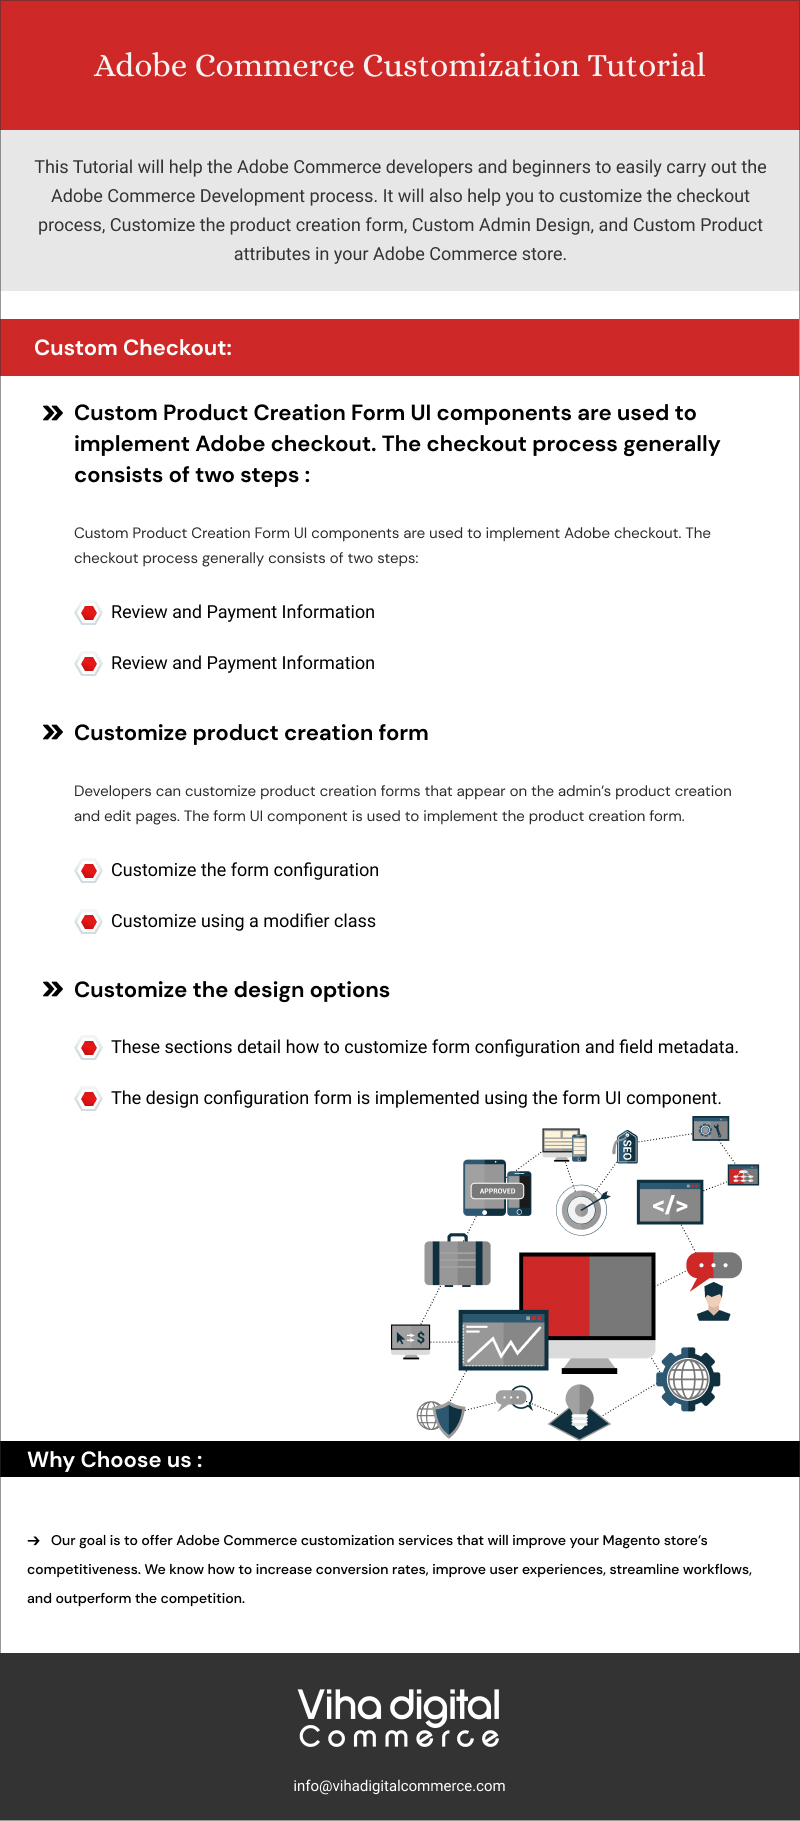
This Tutorial will help the Adobe Commerce developers and beginners to easily carry out the Adobe Commerce Development process. It will also help you to customize the checkout process, Customize the product creation form, Custom Admin Design, and Custom Product attributes in your Adobe Commerce store.
1. Custom Checkout:
Custom Product Creation Form UI components are used to implement Adobe checkout. The checkout process generally consists of two steps:
- Review and Payment Information
- Shipping Information
Only after the first step is finished are the checkout totals and the corresponding sidebar shown.
The only exception is when only virtual and/or downloadable items are in the shopping cart; in this case, check out automatically becomes a one-step process since shipping information is not needed.
There are numerous ways to customize checkout in the Adobe Commerce store. You can easily customize the checkout process in your Adobe Commerce Store by considering the following customizations.
- Add a new checkout step
- Customize the view of an existing step
- Add a custom payment method to checkout
- Add custom validations before order placement
- Add custom shipping carrier
- Add custom shipping carrier validations
- Add custom input mask for ZIP code
- Add a customs template for a form field on the Checkout page
- Add a new input form to the checkout
- Add a new field in the address form
- Add custom shipping address renderer
- Add a custom field for an offline payment method
2. Customize product creation form
Developers can customize product creation forms that appear on the admin’s product creation and edit pages. The form UI component is used to implement the product creation form.
Under STORES > Attributes in the Admin, you can edit and add the product attributes and attribute sets that are currently available in the form. However, you can use code to modify the form’s behavior and view. The files that define the form are listed in the following sections, along with information on how to alter them in your module.
Prerequisites
While carrying out all customizations and debugging, switch Magento to developer mode.
Do not alter the default Magento code for the sake of compatibility, upgradeability, and ease of maintenance. Put your customizations in a separate module instead.
List of customization methods
This tutorial includes the following customizations:
- Customize the form configuration
- Customize using a modifier class
The form’s default view on the New Product page is demonstrated in the image below:

Customize the design
- Discover how to alter (add, delete, or change) the configuration choices offered in the Admin. The various elements of storefront design are described by these choices.
- Your customized location can be found here: Magento Open Source 2.1.0 and later, and Adobe Commerce Configuration options under CONTENT > Design
Environment and technologies
- Adobe Commerce
- Adobe Commerce on cloud infrastructure
- Magento Open Source
Prerequisites
- Magento installed
- Credentials or access to Admin
Steps
Versions 2.1.0 and later are used in the following walkthrough.
On a standard Magento installation, the first page that loads displays a grid with the available configuration scopes and assigned themes when you go to CONTENT > Design > Configuration in Admin. It appears as follows:

When you click Edit in any of the scope records, the page with available design options is displayed. For example, the default set of design options for the store view level is the following:

Both the grid and the configuration form are implemented using UI components.
To change the grid view, you must customize the grid configuration by adding a custom design_config_listing.xml file to your module.
To change the available design settings, you must customize the grid configuration by adding your custom design_config_form.xml file in your module. If you add a new field, you must also declare it in the di.xml file.
Customize the grid
The grid containing the configuration scopes is implemented using the grid UI component.
To customize the grid view, take the following steps:
- In the /view/adminhtml/ui_component directory, add the empty design_config_listing.xml file.
- In the design_config_listing.xml file, create an element to which to add your customizations. For example, if you want to rename the column displaying the selected theme, your grid configuration must contain the following:
%New theme column name%
Your design_config_listing.xml file is merged with the same files from the other modules, so there is no need to copy their contents. You only need to define changes. Even if you want to customize the existing entities, you only need to mention those options for which the values are customized.
For reference, view the grid configuration files of the Magento modules:
- /view/adminhtml/ui_component/design_config_listing.xml
- /view/adminhtml/ui_component/design_config_listing.xml
If you add a certain field as an additional grid column, you must also set the field’s use_in_grid property in the field’s metadata in the di.xml file.
3. Customize the design options
These sections detail how to customize form configuration and field metadata.
Customize the form configuration
The design configuration form is implemented using the form UI component.
To customize the form view, take the following steps:
- Create an empty design_config_form.xml file in the /view/adminhtml/ui_component/ directory.
- Add content similar to the following:
Your custom fields and field sets will be available for all configuration scopes (website, store, and store view).
Your design_config_form.xml file is merged with the same files from the other modules, so there is no need to copy their contents You only need to add your customizations.
To customize an existing entity, declare only those options; the values of which are customized. Do not copy its entire configuration.
For example, if you only want to rename the Other Settings fieldset, your form configuration must contain the following:
To delete an existing field, or fieldset, in your design_config_form.xml file, use the following syntax:
…
…
For reference, view the form configuration files of these Magento modules:
- /view/adminhtml/ui_component/design_config_form.xml
- /view/adminhtml/ui_component/design_config_form.xml
- /view/adminhtml/ui_component/design_config_form.xml
- /view/adminhtml/ui_component/design_config_form.xml
- /view/adminhtml/ui_component/design_config_form.xml
Add fields’ metadata
If in the design configuration form you add new fields, /etc/di.xml, you must specify their parent field sets and the path in the database. You can also declare the backend model used for processing the field values. If you do not specify any model, the default MagentoFrameworkAppConfigValue model is used.
The field declaration in a di.xml file looks like the following:
…
<!– field name as described in configuration –>
<!– the path to the field in system configuration storage in DB–>
%path in system config%
<!– the name of field set for current field, as described in form configuration –>
%parent_fieldset%
<!– The php model used for field value processing –>
%BackendModelForFieldProcessing%
<!– Define whether the field value is displayed in the Design Configuration grid –>
true|false</>
…
Example of a field declaration:
design/head/shortcut_icon
head
MagentoConfigModelConfigBackendImageFavicon
media
1
favicon
For more examples and references, view the di.xml files of these Magento modules:
- /etc/di.xml
- /etc/di.xml
- /etc/di.xml
- /etc/di.xml
- /etc/di.xml
Accessing the options values in backend models
The design configuration option values are stored in the core_config_data table in the database, similar to the values of System Configuration options, and can be accessed using the MagentoFrameworkAppConfigInterface mechanism.
Custom Product Attributes:
In order to add visual treatments to products based on custom product attribute values, developers frequently need access to those values in recommendations units on storefronts.
If your store sells organic goods, for instance, you might have a custom attribute on those goods indicating Organic = Yes. If you want to give these products a unique visual treatment when they appear in recommendations, you might need access to this attribute value on the storefront. The same goes for the ability to badge products or implement custom logic in your site’s presentation layer thanks to accessing these custom product attribute values.
Set the Used in Product Listing property to Yes on the Product Attributes page in the Admin to guarantee that a custom product attribute is accessible when you render the recommendation unit on the page.
The JSON payload includes an attribute object with an array of attribute codes and values when this property is set. Based on these attribute values, you can then apply custom storefront stylings, such as the previously mentioned addition of special visual treatments or badges.
Why Choose Us?
With years of Magento and eCommerce experience, we are a custom Magento theme development company and we can implement the best eCommerce strategies and solutions that are tailored to your company’s needs and market trends. Get a free trial for 8 hours. Our goal is to offer Adobe Commerce customization services that will improve your Magento store’s competitiveness. We know how to increase conversion rates, improve user experiences, streamline workflows, and outperform the competition.